Why Bottling Matters
You've spent weeks nurturing your beer through fermentation, carefully managing temperatures and letting the yeast do its work. Now comes the moment where everything comes together. Bottling isn't just about storage — it's the final chapter of your brewing story.
The good news? It's not complicated. Most brewers worry about this step because it seems technical and final. But here's the reality: if you can follow a simple process with basic equipment, you can bottle beer that tastes as good as anything from a commercial brewery.
The Equipment You'll Need
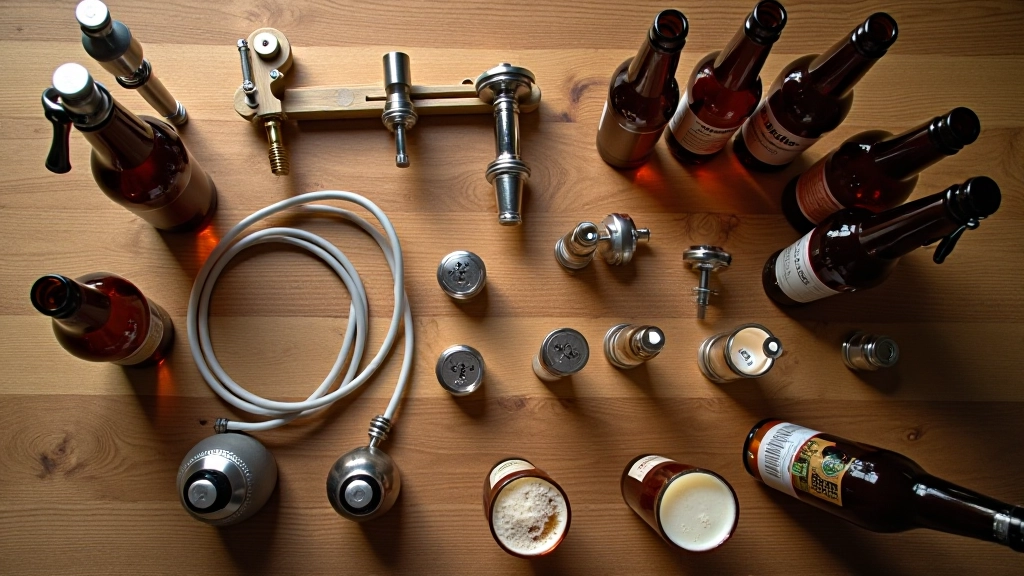
You don't need much. Seriously. A basic bottling setup costs less than you'd think and lasts for years. Most brewers use an auto-siphon with tubing, a bottling bucket with a spigot, a capper, and caps. That's really it.
The auto-siphon is your best friend here. It eliminates the need to suck on tubing to start the flow — just pump the handle a few times and gravity does the work. Bottling buckets have a valve at the bottom that lets you fill without splashing. A capper is either a two-handed lever style or a bench-mounted version. Both work well, but bench cappers give you better leverage and less hand fatigue if you're bottling more than 20 bottles.
One thing we always emphasize: sanitize everything. Not sterile, just sanitized. A no-rinse sanitizer works great here since you're using it on equipment that'll touch already-fermented beer.
Individual Learning Outcomes Vary
Your bottling experience depends on many factors — fermentation completeness, temperature control, sanitation practices, and bottle type. This guide provides educational information. Results vary from batch to batch, and it's normal to experience variations in carbonation and bottle conditioning.
The Bottling Process Step by Step
Prepare Your Bottles
Clean bottles first, then sanitize them. We recommend filling them with sanitizer solution a few minutes before you start. You'll use that same sanitizer in your bottling bucket, so it all works together.
Rack to Bottling Bucket
Use your auto-siphon to transfer beer from your fermentation vessel to the bottling bucket. This is where you'll add your priming sugar — the sugar that the remaining yeast will eat, creating carbonation.
Add Priming Sugar
Dissolve your priming sugar in a little boiled water first, then add it to the bottling bucket. Stir gently to mix. Don't go crazy stirring — you want to avoid oxidation. Aim for about 3/4 teaspoon per 12-ounce bottle for standard carbonation levels.
Fill Your Bottles
Attach tubing to the bottling bucket spigot and fill each bottle to about an inch from the top. The headspace matters — too much air and you'll get oxidation, too little and the bottle might overflow when capping.
Cap Immediately
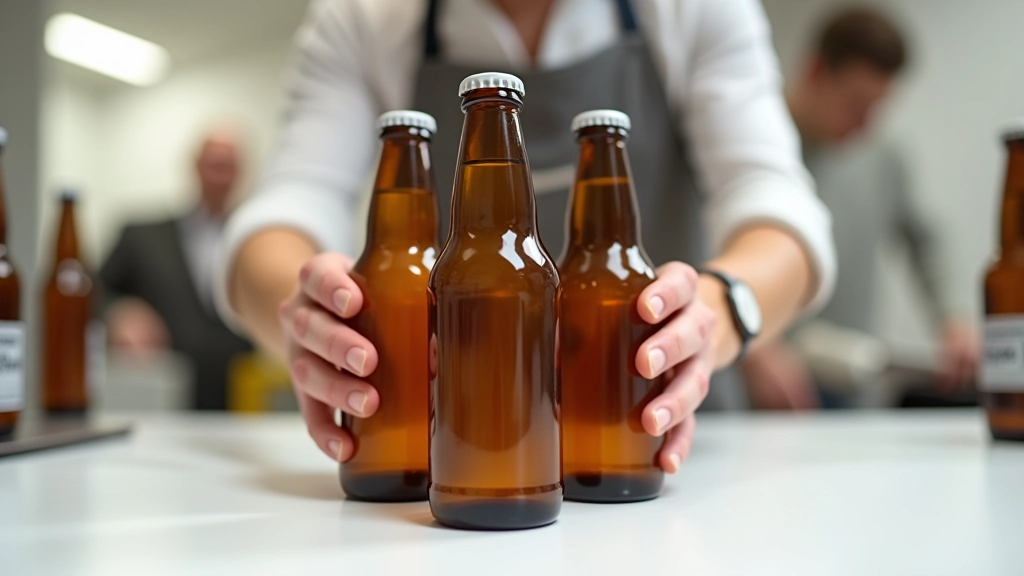
Cap each bottle right after filling. This seals in the beer and prevents any oxygen from getting in during the carbonation process. Use a capper with good pressure — you want a firm, secure seal every time.
Understanding Carbonation
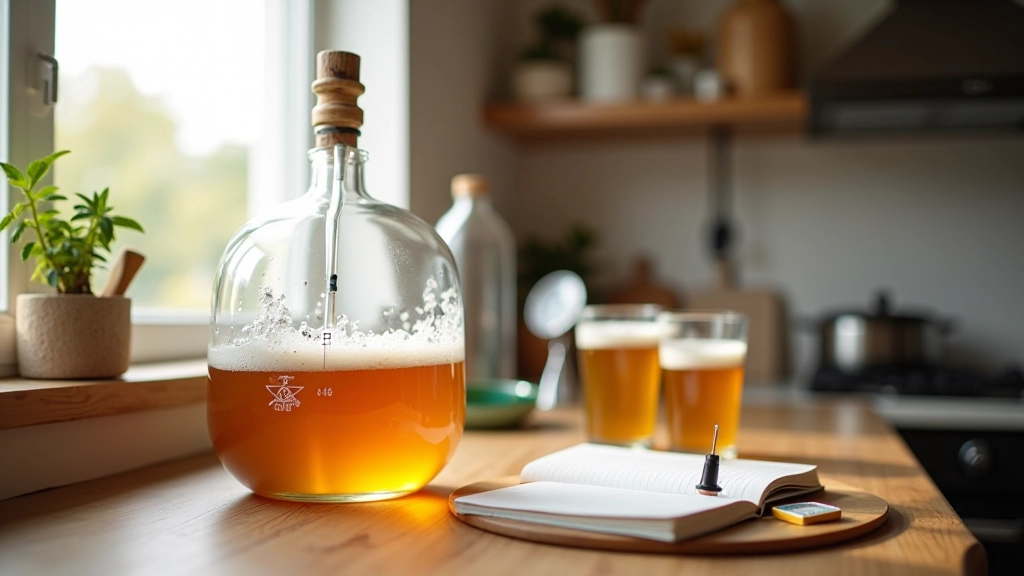
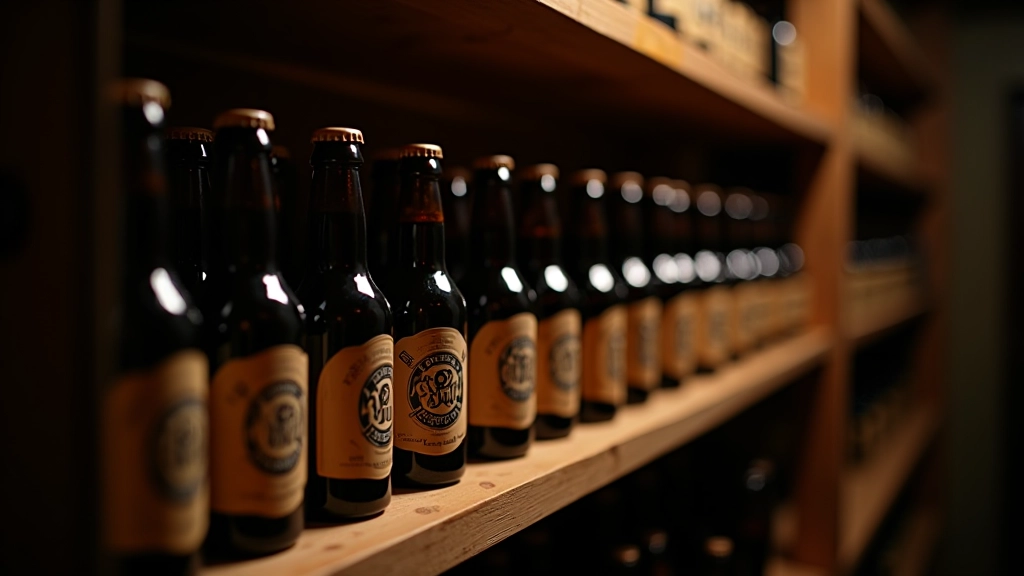
Once you've capped your bottles, you're done with the active work. The carbonation happens passively over the next 2 to 4 weeks. The yeast in your beer is still alive and working, eating that priming sugar you added and producing CO2 in the process.
Temperature matters here. Room temperature (around 65-75 degrees Fahrenheit) is ideal. Too cold and carbonation slows down significantly. Too warm and you risk over-carbonation or bottle bombs — though that's rare if you measured correctly.
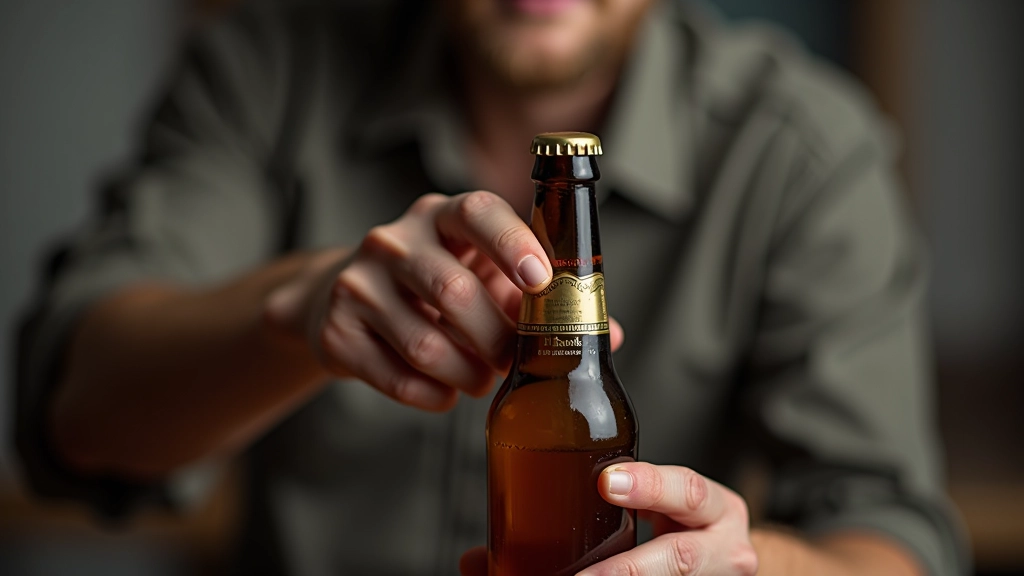
You'll know it's working when you pick up a bottle after a week or so and hear a gentle hiss when you open it. That's the CO2 escaping. After 2-3 weeks, most beers are fully carbonated. Some styles — particularly higher-alcohol beers — benefit from 4-6 weeks for full development.
Common Issues and How to Avoid Them
Flat Beer
Usually means either not enough priming sugar, bottles stored too cold, or yeast was dead before bottling. Double-check your measurements and storage temperature. Room temperature is your friend here.
Over-Carbonation
Too much priming sugar or warm storage creates excessive pressure. It's rare if you measure correctly, but prevent it by being precise with your sugar amounts. A scale helps more than guessing.
Infection or Off-Flavors
Sanitation during bottling is critical. Use a no-rinse sanitizer, don't skip any bottles or caps, and work cleanly. Most infected batches come from poor sanitation, not bad luck.
Bottle Bombs
Extremely rare if you're careful. Happens when fermentation restarts in the bottle or you added too much sugar. Use clean bottles, ensure complete fermentation before bottling, and measure sugar precisely.
You're Ready to Bottle
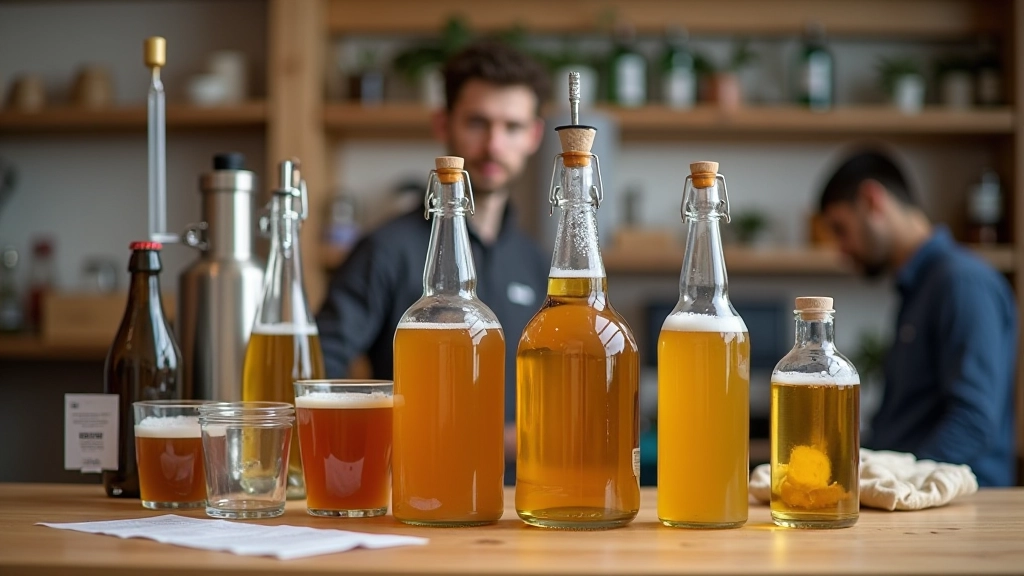
Bottling your homebrew is genuinely one of the most satisfying parts of brewing. You get to see your weeks of work become something tangible — bottles lined up, capped, and ready to carbonate. It's the moment where beer stops being a project and becomes a finished product.
The process itself is straightforward: clean, sanitize, siphon, prime, fill, cap. Repeat. No mystery, no stress. Just simple steps executed carefully. And then you wait — the hardest part — while those bottles sit quietly in a dark corner, doing their thing.
In 2-4 weeks, you'll open your first bottle, hear that crisp pop of the cap, and pour yourself a glass of beer you made. That first sip tastes better than anything you could buy, because you understand exactly how it got there. That's what homebrew is all about.