Why Temperature Matters More Than You Think
Here's the thing: temperature is the single biggest factor that separates good beer from great beer. It's not complicated chemistry — it's actually pretty straightforward once you understand what's happening inside your carboy.
Yeast is alive. These tiny organisms eat sugar and produce alcohol and flavor compounds as byproducts. But here's where temperature comes in: yeast behaves completely differently depending on how warm or cold it is. Too cold, and they fall asleep. Too warm, and they work overtime, creating flavors you probably don't want.
Most ale yeasts ferment best between 64-72°F. Lagers need it colder, around 50-55°F. If you're fermenting at 78°F, you're not just speeding things up — you're changing the entire flavor profile of your beer.
Simple Temperature Control Without the Equipment
You don't need a fancy temperature controller or a refrigerated chamber. Most home brewers get excellent results using methods you probably already have.
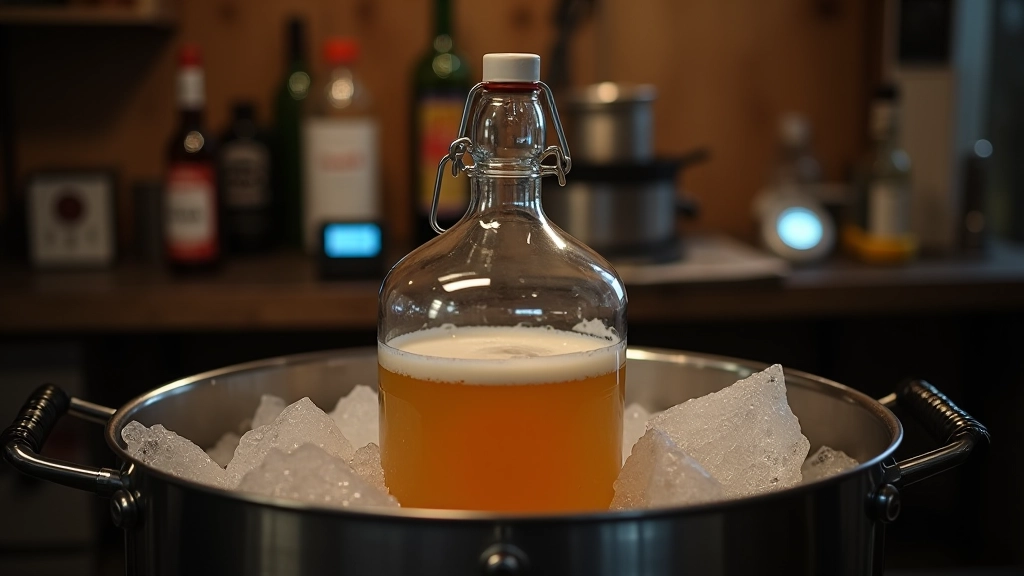
A water bath is your friend. Put your fermentation vessel in a larger container filled with water. The water absorbs temperature swings and keeps things stable. On hot days, add some ice packs wrapped in cloth. On cold nights, swap them out. This simple approach keeps fermentation temperature within 2-3 degrees — good enough for most ales.
Another option: ferment in your basement or closet. These spaces naturally stay cooler and more stable than your kitchen. We've seen brewers achieve rock-solid 68°F fermentation just by using a basement corner with a simple insulated box made from foam board.
Individual Results Vary
Individual learning outcomes and fermentation results vary from person to person. Temperature ranges, timing, and specific techniques in this guide are based on common practices, but your unique environment, equipment, and ingredient choices may produce different results. Document your own fermentation to learn what works best for your setup.
Time and Patience: The Underrated Tools
Patience wins. That's honestly the biggest lesson. Most brewers want their beer ready in two weeks. But fermentation isn't a race — it's a process that takes what it takes.
A typical ale ferments visibly for 7-10 days. You'll see vigorous bubbling through the airlock. But fermentation doesn't stop when the bubbling slows down. The yeast keeps working for another week or two, cleaning up byproducts and settling. If you bottle after two weeks, you're rushing it. Give it 3-4 weeks and you'll taste the difference.
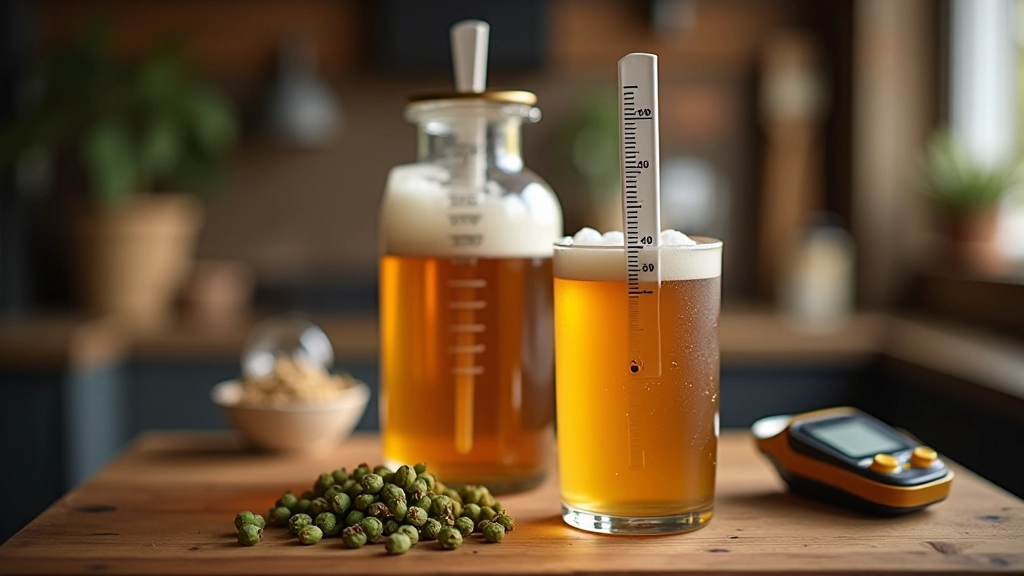
How do you know when it's actually done? Take gravity readings. Use a hydrometer to check the specific gravity. When you get two readings 3-5 days apart that are identical, fermentation is finished. This isn't guessing — it's actual data.
Practical Fermentation Timeline
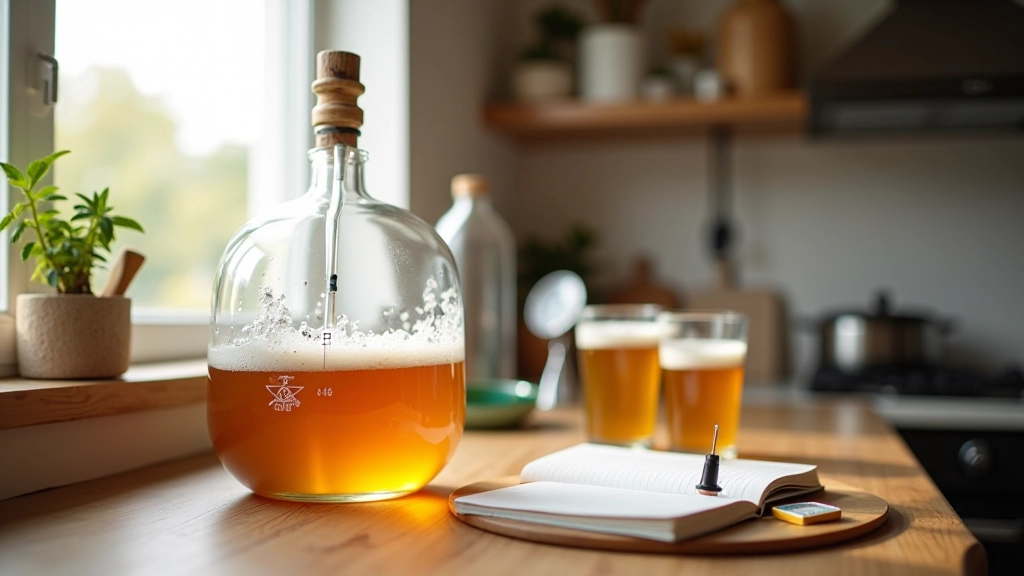
Here's what you'll actually see in your carboy, day by day.
Days 1-3: Lag phase. Yeast wakes up and reproduces. You might not see much action yet.
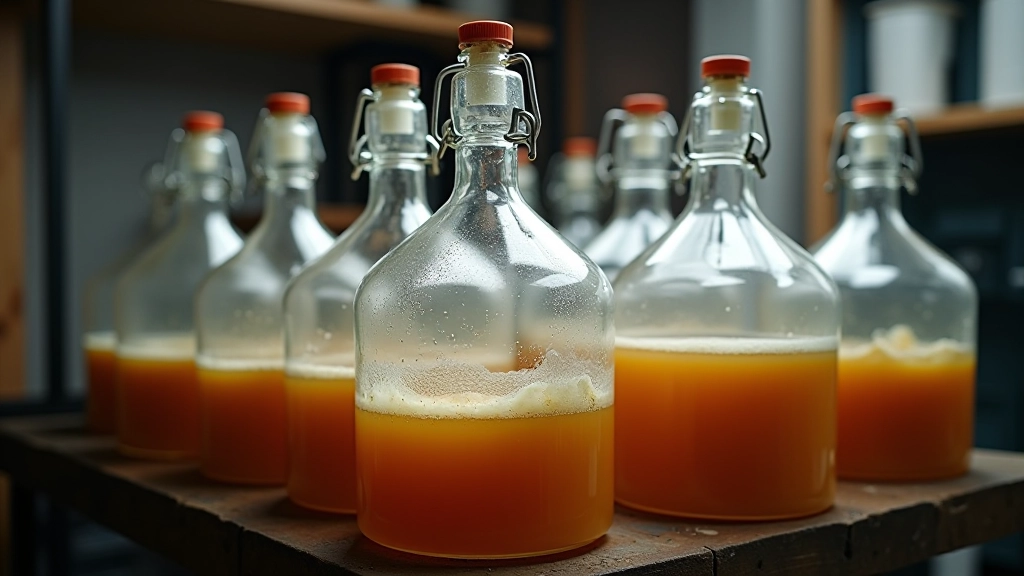
Days 4-10: Vigorous fermentation. Bubbling through the airlock is constant. Foam builds up on top. This is normal and expected.
Days 11-14: Bubbling slows down. Yeast starts settling. Beer begins to clear from the top down.
Days 15-28: Cold conditioning phase (even at room temperature). Yeast continues cleaning up, settling to the bottom. Flavor improves daily.
Don't bottle before day 21. Seriously. We know it's tempting, but you'll regret it when you open a bottle that's still fermenting in the cap.
Monitoring Without Stress
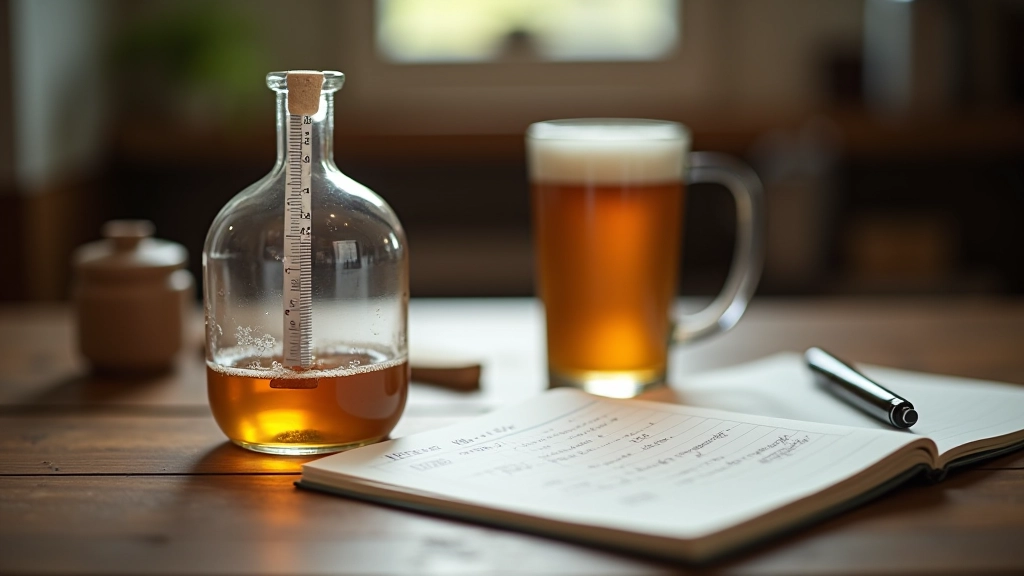
You don't need fancy equipment to track what's happening. A simple thermometer strip on the side of your carboy costs about 50 cents and gives you continuous temperature readings. Stick one on there and check it once a day. If it's drifting outside your target range, adjust your water bath or move the carboy.
Keep a fermentation log. Sounds tedious, but it's actually useful. Write down the date, temperature, and any observations. After you've brewed 3-4 batches, you'll start seeing patterns. You'll notice that batches fermented at 68°F taste cleaner than ones at 72°F. Or maybe you prefer the warmer fermentation. Your log tells you what works for your setup.
That's it. Temperature strip, thermometer check, notebook. No expensive gear required. Thousands of brewers produce competition-quality beer with exactly this setup.
The Takeaway
Fermentation doesn't require expensive equipment or complex science. You need three things: stable temperature (within your yeast's comfort zone), patience (don't rush it), and basic monitoring (a thermometer and gravity readings).
Start with a water bath and a basement corner. Check the temperature daily. Let the beer sit for 4 weeks. Take gravity readings to know when it's actually done. You'll brew better beer than 80% of home brewers, and you'll spend less money doing it.
Temperature control isn't mysterious. It's just keeping yeast happy while it does its job. Master this one thing, and everything else in brewing gets easier.