
Hop Varieties and What They Actually Taste Like
Not all hops are equal. We've tested common varieties and documented their flavo...
Malts and grains make up the backbone of any beer. We break down what each type contributes to flavor and body so you can make confident choices.
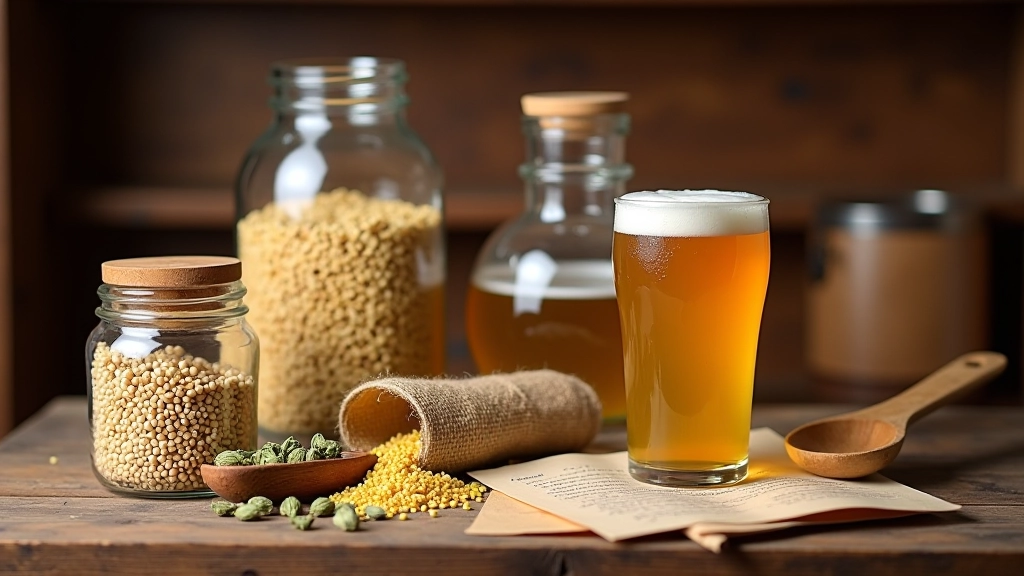
Here's the thing about brewing beer: grain is where everything starts. It's not just an ingredient — it's the backbone. The grains you pick determine the color of your beer, how much body it'll have, and what flavors come through at the end.
When you mash grain in hot water, the starches convert to sugars. Yeast then eats those sugars and produces alcohol and CO2. So your grain choice directly affects both the strength and the flavor profile of your finished beer. Pick the wrong grain? You'll notice it immediately.
The good news is you don't need to memorize every single malt variety out there. You'll be working with a handful of reliable base malts that show up in most recipes, plus some specialty grains that add character. Start simple and build from there.
Individual learning outcomes vary from person to person. Brewing results depend on your water chemistry, equipment, technique, and environment. We encourage you to experiment and adjust recipes based on your actual results.
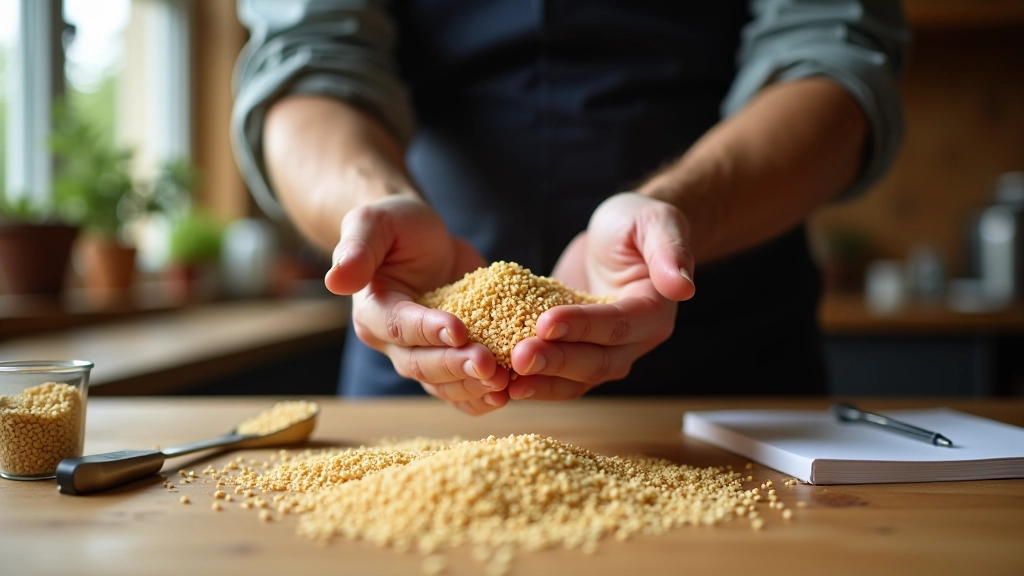
Base malts make up the bulk of your grain bill — usually 60 to 90 percent. These are fully modified malts that convert well and give you clean fermentation. The most common one you'll work with is Pale Malt (also called Pilsner Malt). It's got a subtle, slightly sweet flavor and a pale golden color. Works in almost everything.
Vienna Malt and Munich Malt are slightly darker base malts with more malt character. They add a richer, more bread-like flavor. If you're brewing a European-style lager or amber ale, these show up in the recipe for a reason. They're still fermentable, but they bring more personality than Pale Malt.
Don't overthink it at first. Pick one base malt and stick with it for your first 3-4 batches. You'll start understanding how it behaves, how your equipment handles it, and what kind of beer you actually like to drink. That experience is worth more than trying five different malts in five brews.
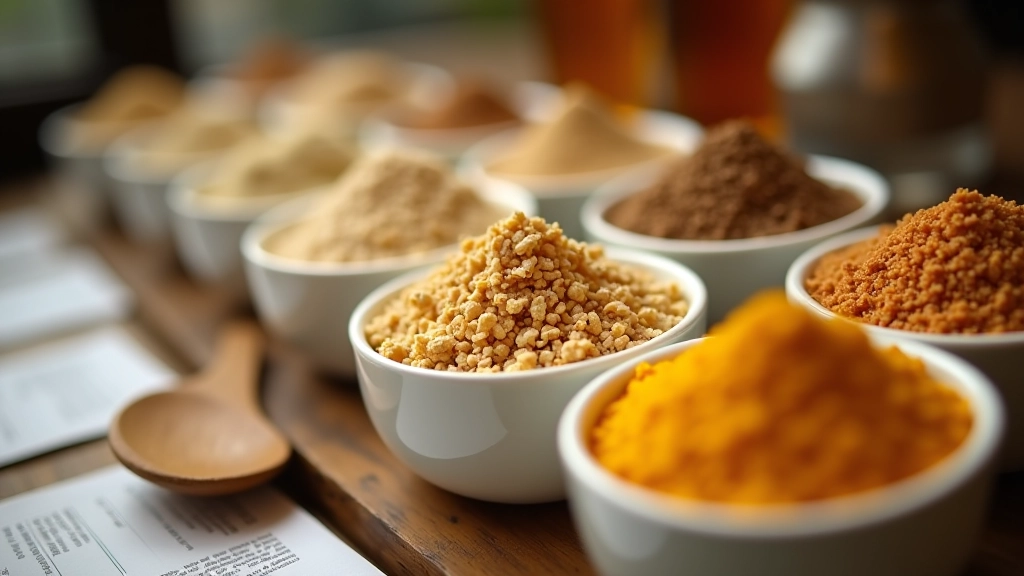
Light gold color, clean malt sweetness, most versatile. Works for any beer style.
Slightly darker, bread-like flavor, adds depth without overpowering.
Rich malt character, fuller body, common in German and amber styles.
Once you've got your base malt dialed in, specialty grains are where you add personality. These don't make up a huge percentage of your grain bill — usually 5 to 20 percent — but they're powerful. A small amount of crystal malt will deepen color and add sweetness. A bit of chocolate malt brings cocoa notes and darkness.
Crystal malts come in different degrees of caramelization. Crystal 20L is pale and adds light sweetness. Crystal 60L is darker with more caramel complexity. The number tells you the color level in Lovibond degrees. Higher numbers = darker, more intense flavor. Most beginner recipes use Crystal 20L or Crystal 40L because they're forgiving and you'll taste the difference.
Black Malt and Roasted Barley give you dark color and roasty flavors — think coffee and chocolate. You don't need much. Even 2 to 3 percent in your grain bill makes a noticeable impact on color and flavor. And here's a practical tip: keep your specialty grains under 20 percent of total grain weight. Go much higher and you'll end up with a beer that's too intense or won't ferment properly.
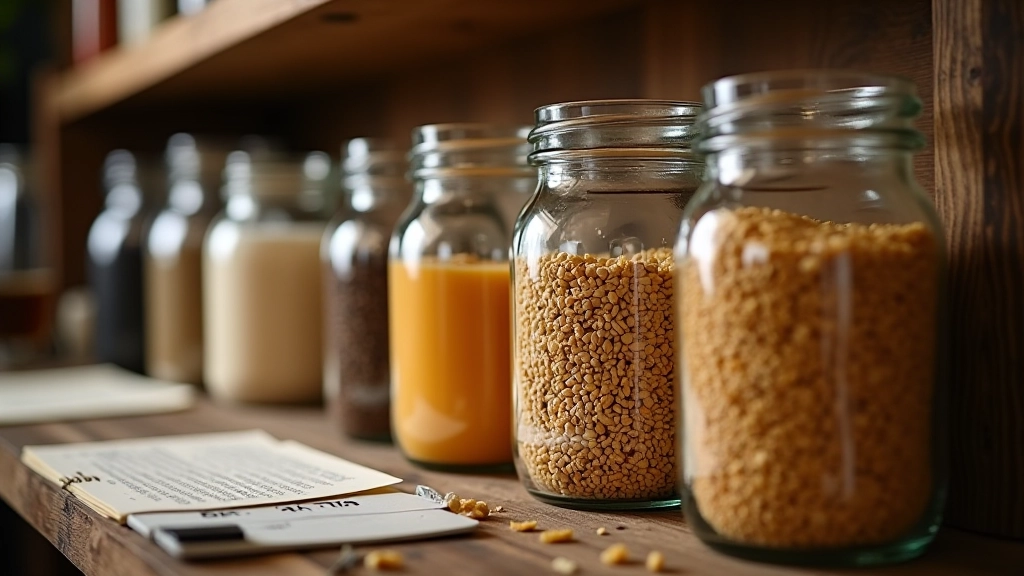
Don't invent your own grain bill yet. Find a beginner recipe you're excited about and follow it exactly. You'll learn what each grain does by tasting the finished beer.
Fresh grain matters. Buy from a homebrewing supply shop that turns over inventory regularly. Old grain loses enzymatic power and affects your extraction.
Your local homebrew club or supply shop staff can suggest grains based on the style you want. They've tested combinations that work.
Write down what grains you used, how much, and how the beer turned out. After 4-5 brews you'll see patterns in what you like.
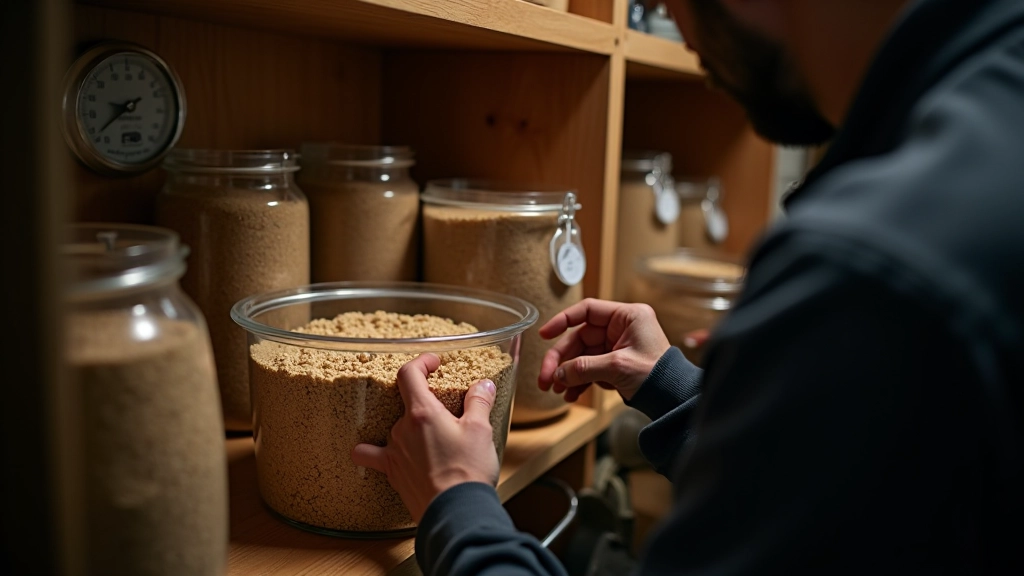
Grain is living material. It's got enzymes and moisture that keep it viable. Store it in a cool, dry place — ideally below 15°C (60°F) and below 65 percent humidity. A sealed container in a cool cupboard works. A pantry away from direct sunlight is fine. Don't leave bags open after you've cracked the seal.
Most base malts stay good for 6 to 12 months if stored properly. Specialty grains last a bit shorter — maybe 4 to 6 months — because of their roasted character. If you're buying for your first batch, don't stockpile. Buy what you need, brew it within a month, and taste the difference fresh grain makes.
When you're ready to brew, let the grain come to room temperature before milling if it's been stored cold. This prevents condensation and moisture absorption during the milling process. Small details like this affect extraction and final gravity. You'll notice better results when you're thoughtful about handling.
Grain selection doesn't have to be complicated. You're picking a base malt (like Pale Malt), adding maybe one specialty grain for character, and following a recipe someone's already tested. That's it. Your first beer will be good if you focus on clean process and quality ingredients.
As you brew more, you'll develop instincts about which malts work together and what flavors you want to chase. But right now? Pick a beginner recipe you're excited about, source the grains it calls for, and brew it. You'll learn more from making beer than from reading about it.
The best part is you're starting at a really good time. Homebrew supply shops have quality malts available year-round, brewing communities are active and helpful, and recipes that work are everywhere online. All you need to do is start.
Not all hops are equal. We've tested common varieties and documented their flavo...
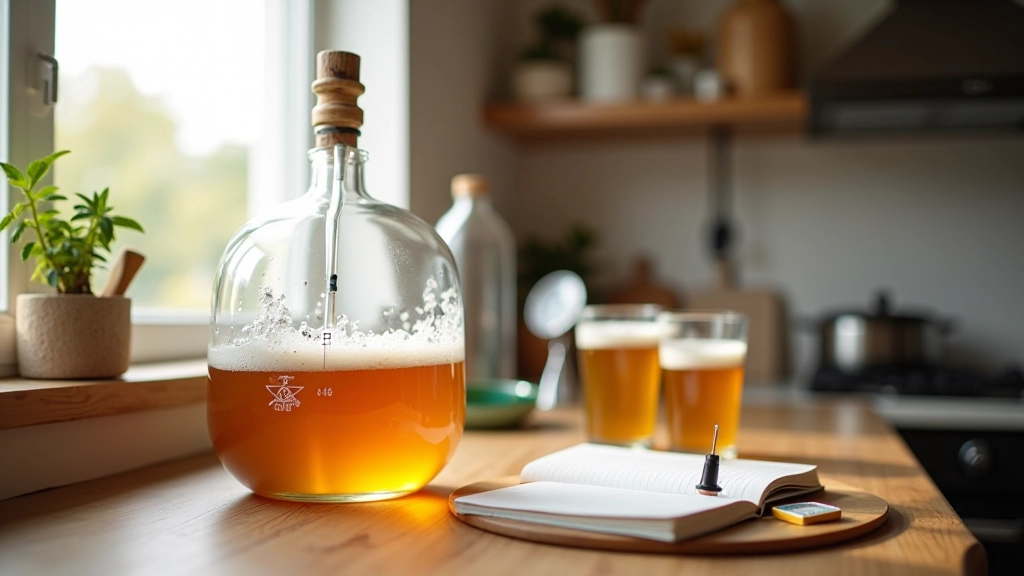
Temperature control makes or breaks your batch. Learn how to manage fermentation...
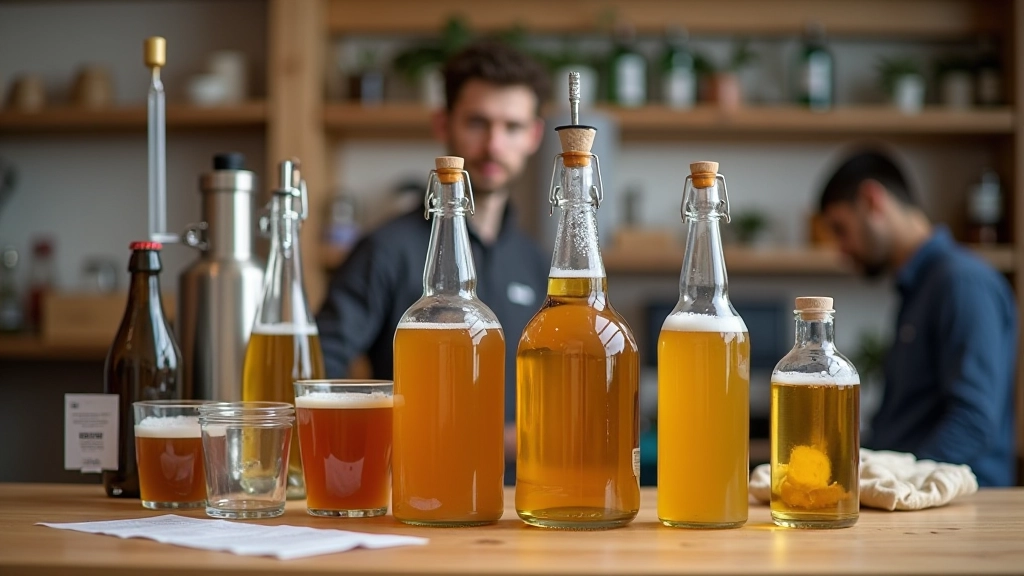
The final steps are easier than you think. We walk through bottling, capping, an...